A straight seam is the whole of sewing in miniature. Get these steps right once and everything else builds on them.
1. Set up the machine
- Put in a fresh needle: a universal 80/12 for medium cotton.
- Thread the top with the presser foot raised, so the thread sits between the tension discs — see how to thread a sewing machine.
- Insert a bobbin wound with the same thread, and bring the bobbin thread up.
- Pull both threads back under the foot, about 4 inches long.
2. Choose a straight stitch
A stitch length of about 2.5 mm suits most woven cotton. See stitch length and width for the rest.
3. Test on a scrap
Fold a scrap of the same fabric double and sew a few inches. Look at both sides: the stitches should look the same top and bottom, with no loops. If not, see how to set thread tension.
4. Pin the pieces
Place the pieces right sides together and pin across the seam line with glass-head pins, heads toward the edge, so you can pull them out as you sew. Never sew over pins.
5. Line up the seam allowance
Lower the needle into the fabric, then lower the foot. Align the raw edge with the 5/8-inch line on the needle plate for garments, or 1/4 inch for quilting — see understanding seam allowance. Watch the edge on the line, not the needle.
6. Sew
- Hold the thread tails for the first stitches.
- Backstitch three or four stitches, then sew forward.
- Sew at a slow, even speed. Steady is more important than slow.
- Guide, do not pull. The feed dogs move the fabric; your hands keep it on the line.
- At the end, backstitch again, raise the needle to its highest point, lift the foot and pull the fabric out to the back.
7. Trim and press
Cut the threads, then press the seam flat as sewn, then open. Pressing sets the stitches and is the difference between a homemade look and a finished one — see pressing versus ironing.
Common first-seam problems
- Thread bunches underneath: rethread the top with the foot up.
- Seam wanders: you are watching the needle; watch the edge guide.
- Needle breaks: you hit a pin or pulled the fabric.
- Machine will not sew at all: see sewing machine not stitching.
A machine that helps
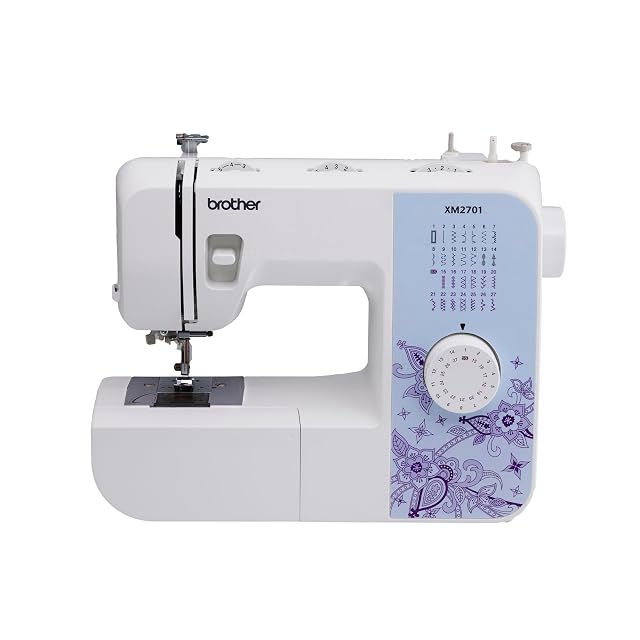
An automatic needle threader, a drop-in bobbin and a speed control make the first hours easier. The Brother XM2701 has the first two; our beginner machines page compares the rest.
What sewers ask us
Why does my thread bunch under the fabric on the first stitches?
Usually because the thread tails were not held. Hold both the top and bobbin threads behind the foot for the first two or three stitches. If it continues, rethread the top thread with the presser foot raised.
Should I pull the fabric through the machine?
No. The feed dogs move the fabric. Your hands only guide it; pulling bends the needle and distorts the stitches.
What seam allowance should I use?
Whatever the pattern states: 5/8 inch is standard for US garment patterns, 1/4 inch for quilting. Use the marks on the needle plate.
Do I need to backstitch every seam?
Every seam whose ends will not be crossed by another seam. A few stitches back and forth lock the thread so the seam does not unravel.
Last reviewed