Interface the buttonhole area first — this is not optional. Mark the position and the direction: horizontal on a waistband, vertical on a placket. Sew a test buttonhole on a doubled scrap of the actual fabric with the same interfacing, and check the button passes without forcing. Then sew for real. Cut with a seam ripper working from each end towards the middle, with a pin across the far end so the ripper cannot run through the bar tack.
Questions people actually ask
One-step or four-step?
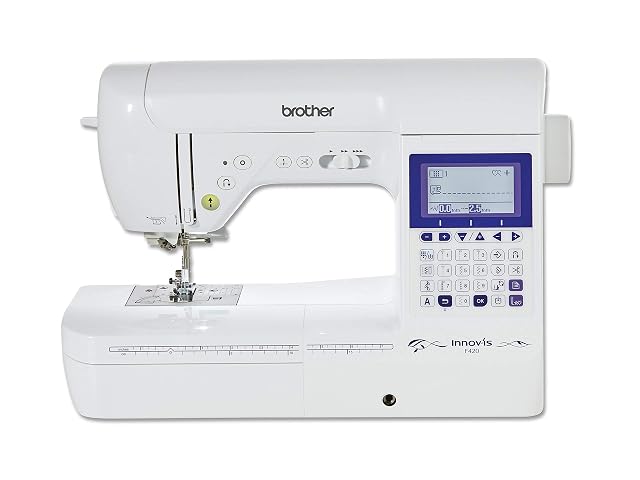
One-step measures your button and sews the whole buttonhole in a single operation, which is why it is worth the step up to a computerised machine. Four-step asks you to turn a dial through each stage and to judge the length yourself — workable, but it is where the mistakes happen.
Why did my buttonhole tear?
Because there was no interfacing behind it. A buttonhole is a slit under repeated load; on a single layer of fabric it will fray and then tear. Interface every buttonhole area without exception.
Last reviewed 2026-08-11